Image Characteristics with YOLOV8
Last year I started experimenting with older versions of YOLO models for fast object detection, classification and tracking. Recently I learned of the fairly recently released YOLOV8 and the Ultralytics Python package for building, training and deploying computer vision models with YOLO. This past week I begin diving into the Ultralytics packages and writing some customized code to try and achieve some specific objectives.
For some time now I've been interested wanted to build an image processing and computer vision model that quantifies photos and videos I take by quantifying the content, color schemes, lighting and other photography related metrics and mapping the data to the geographic location and time the image/video was taken. Conceptually I find this idea interesting as a means of visualizing content and stylistic changes in photography projects over time and how different geographic locations and convent influence decisions in photography. For example, are there distinct shifts in the compositional nature of how subjects in photographs are framed. The details of this idea are fairly rough, but I think it could be an interesting concept to explore.
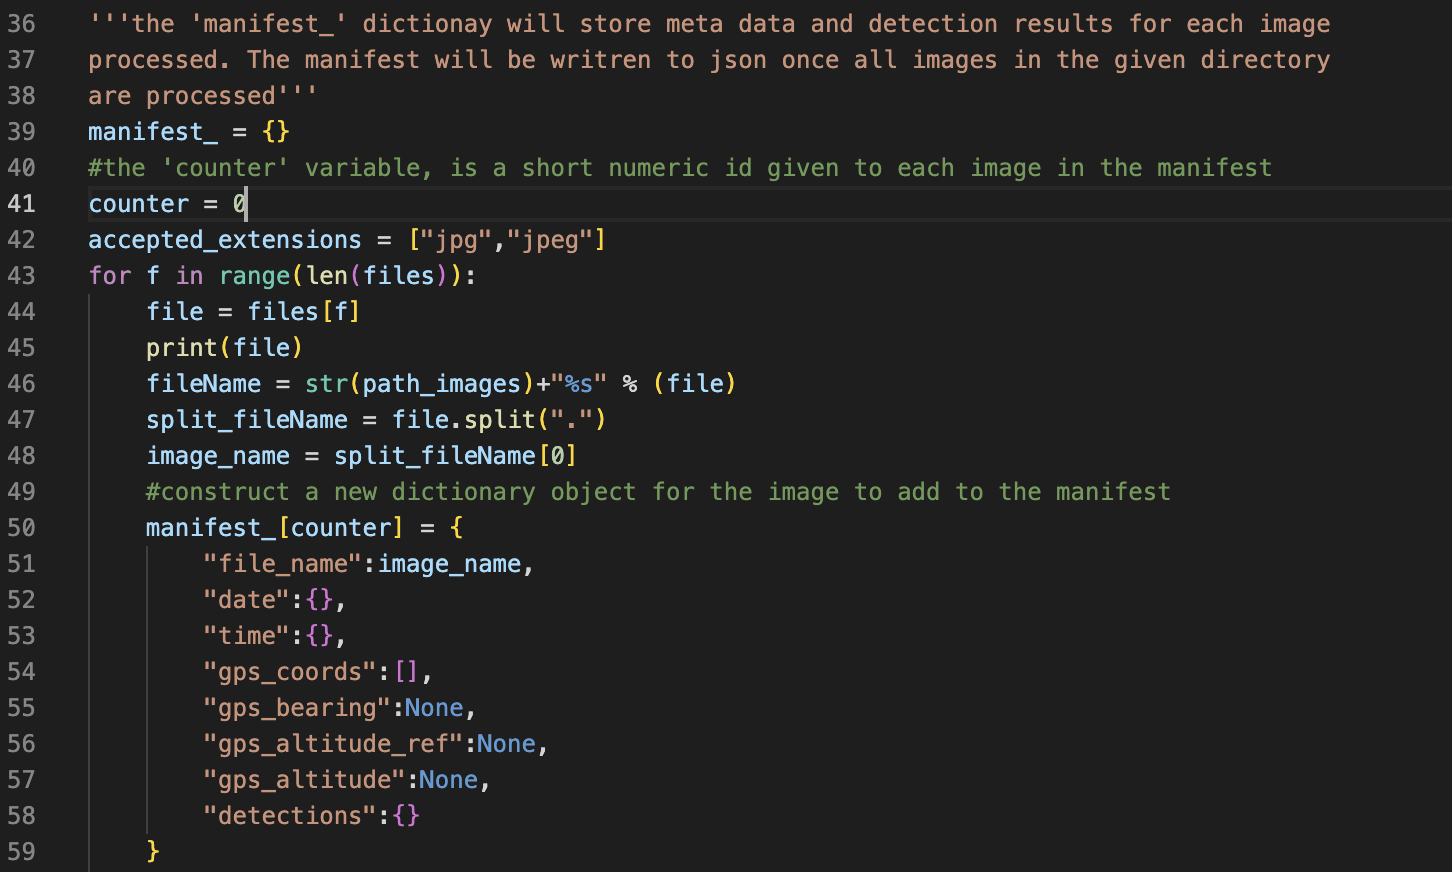
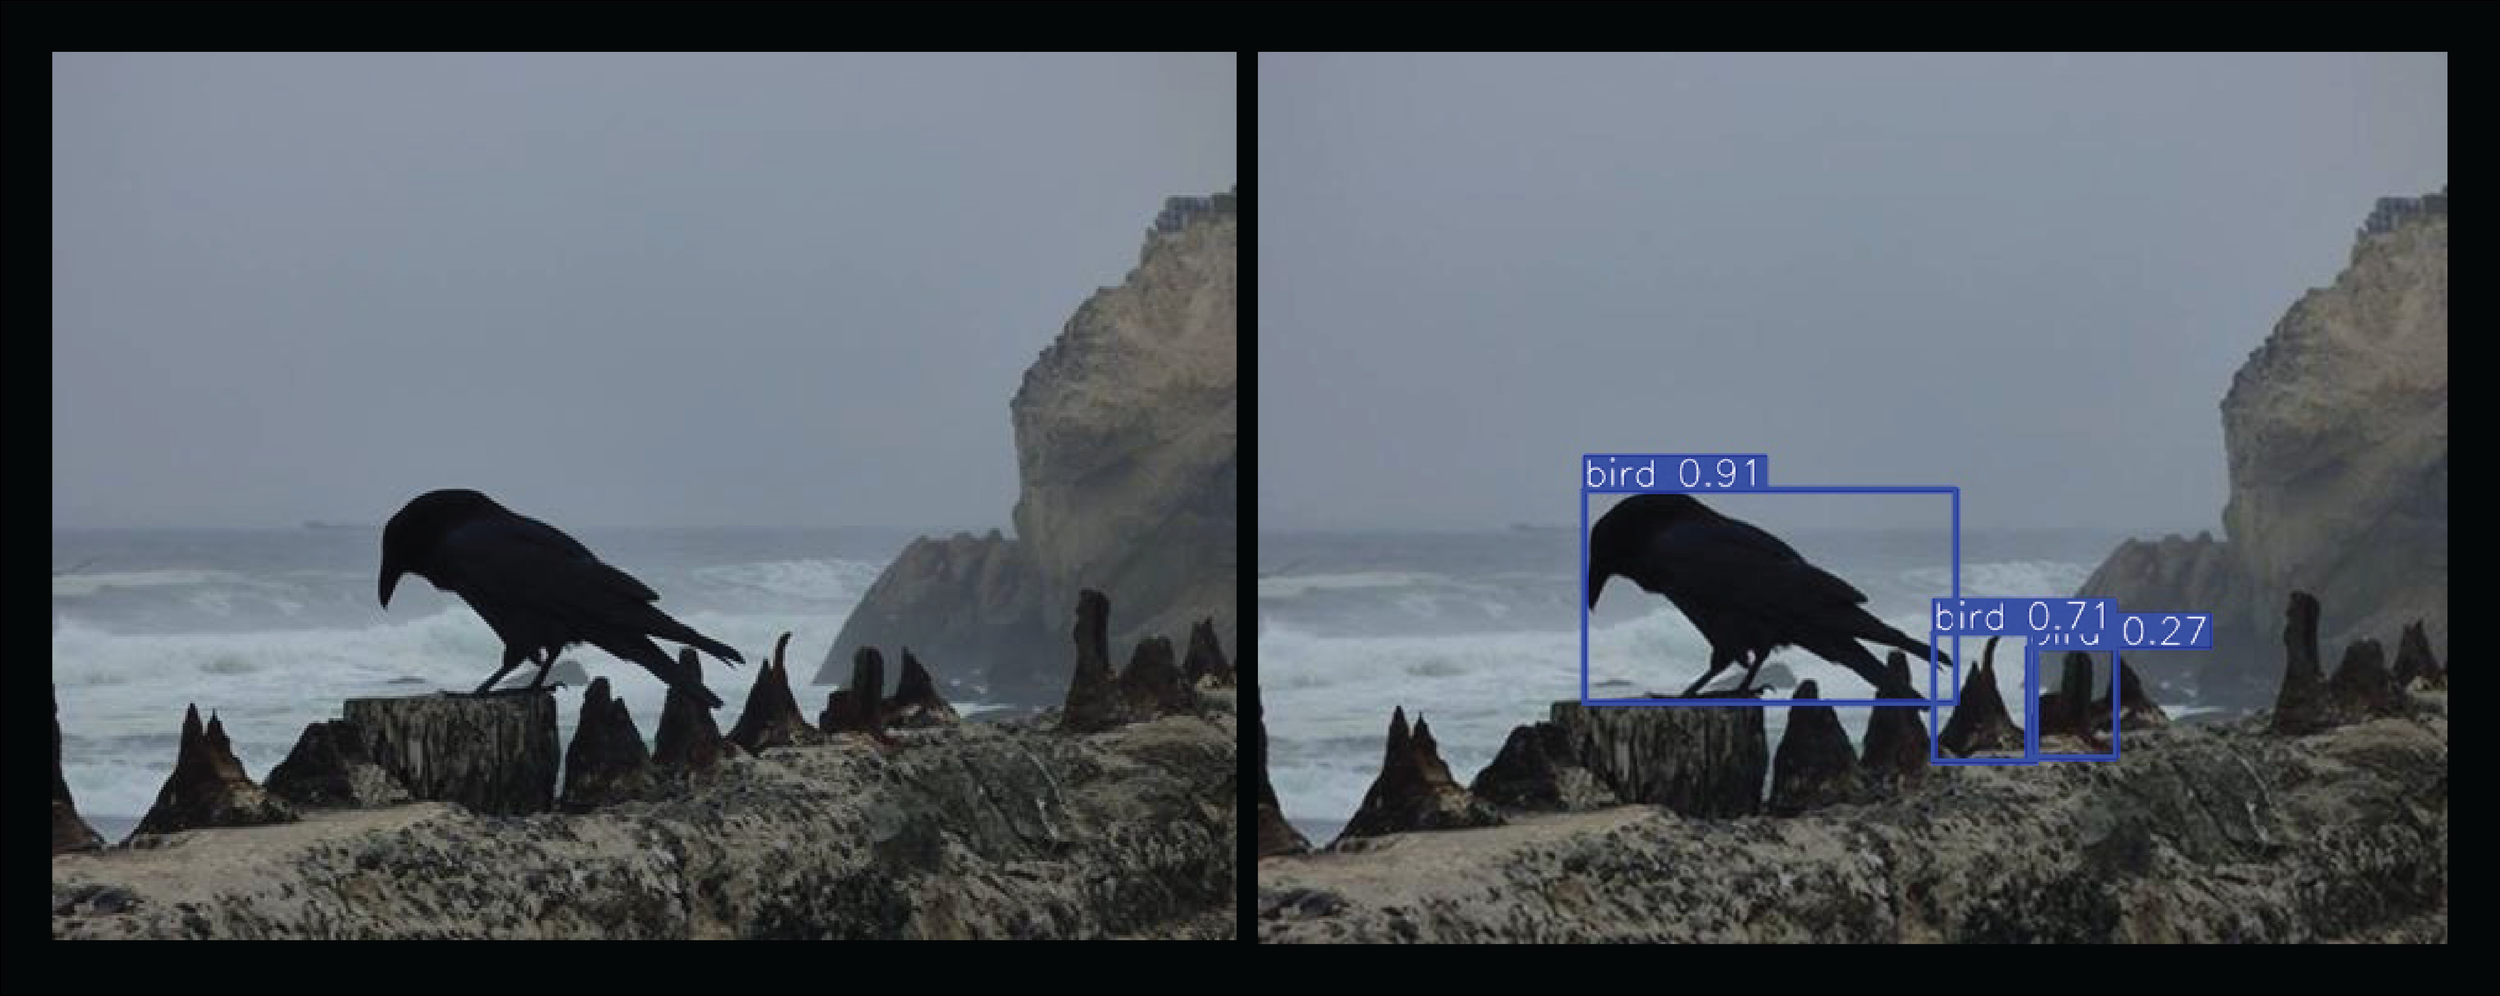
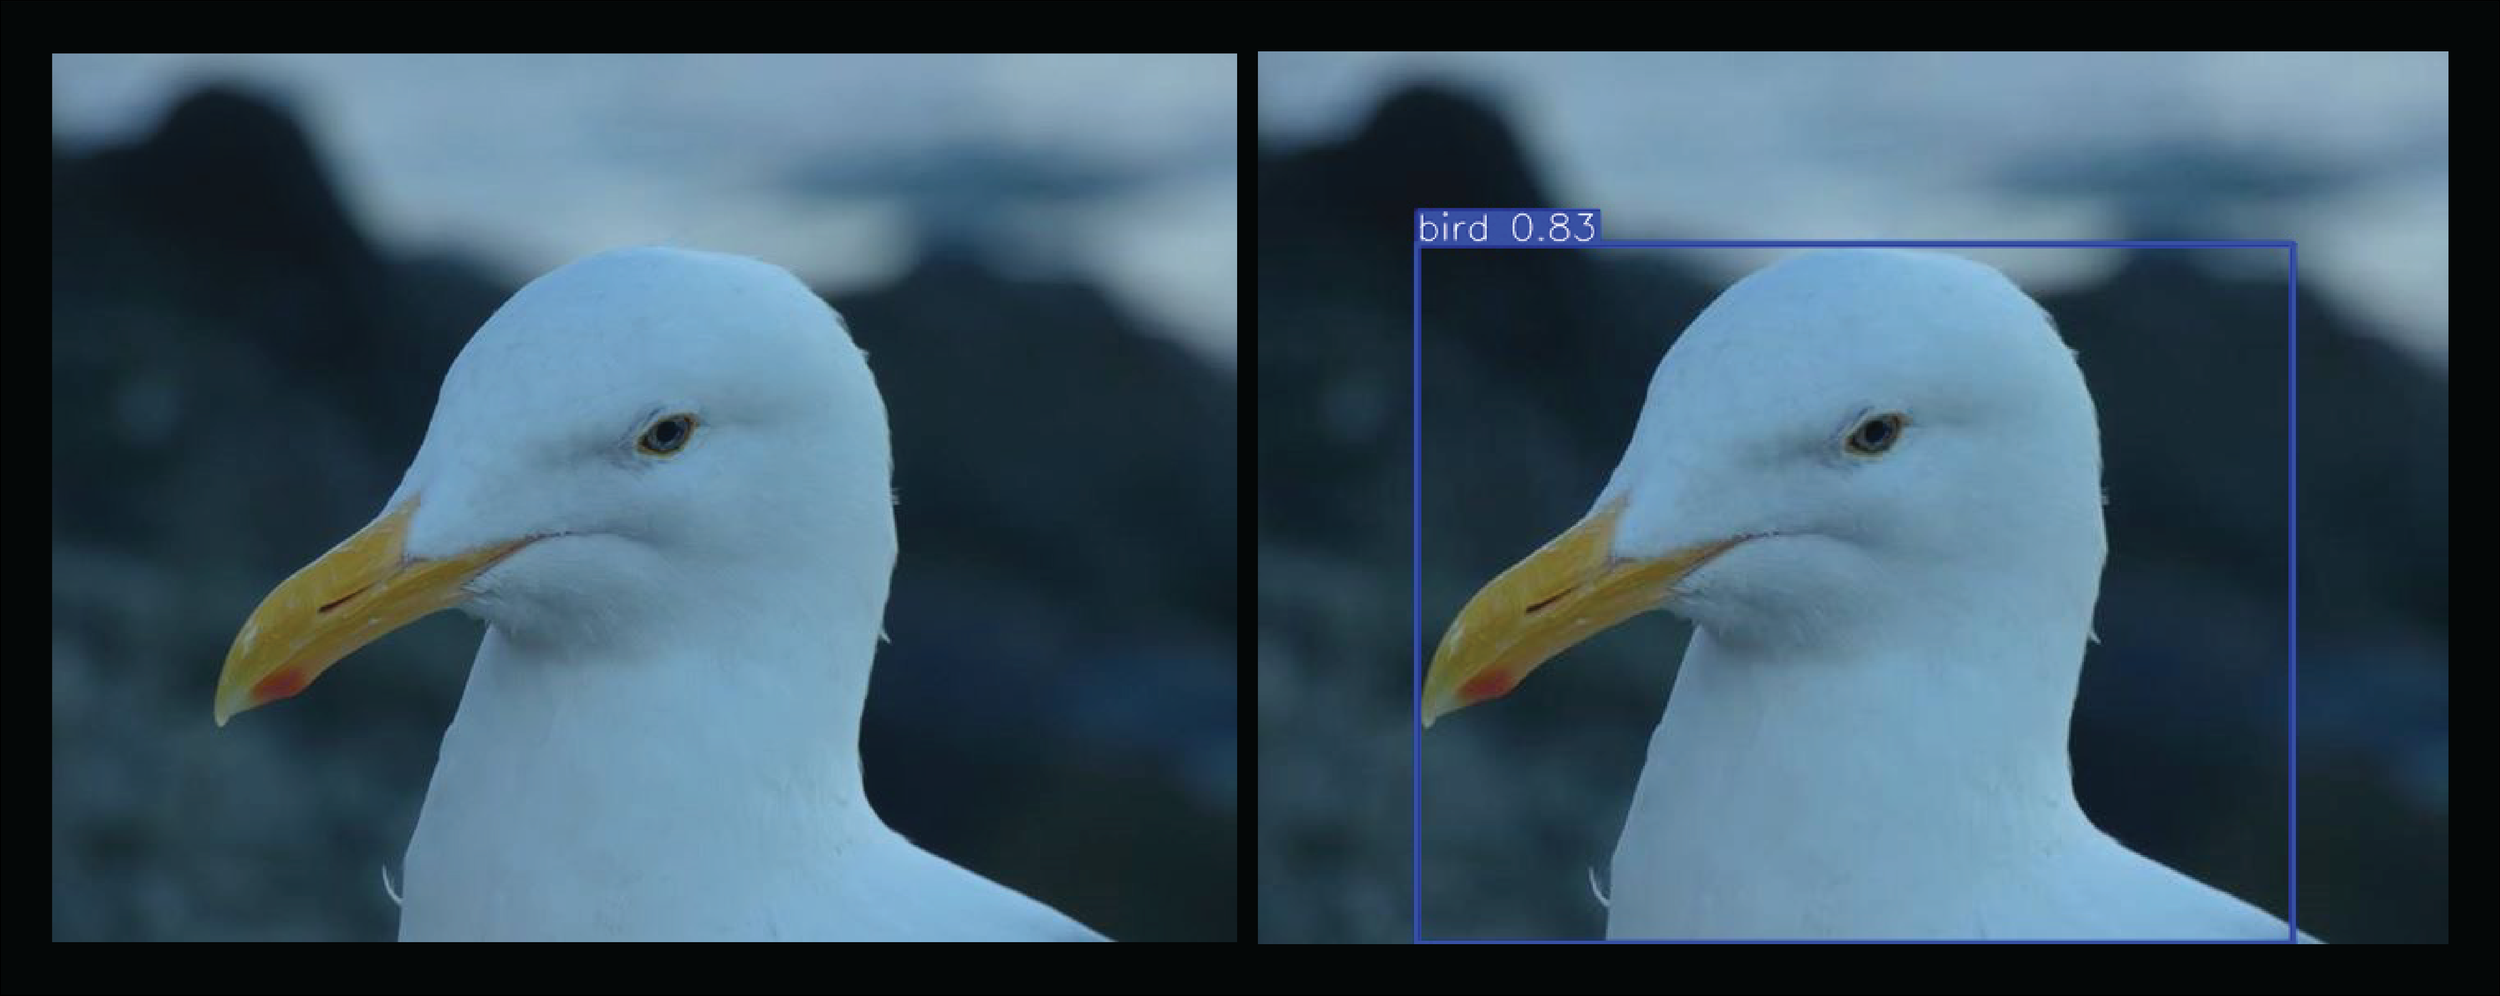
The recent release of YOLOV8 plays into this concept because the tools built by Ultralytics make it incredibly easy to work with pretrained models, so I plan to use YOLOV8 as the primary object detection, classification and segmentation tool for this project. As a starting point, I wrote the following Python program for batch processing images to extract geolocation and datetime metadata and detect and any identifiable elements in the image with YOLOV8. The program cycles over images in a given directory, extracts meta data, detects elements and writes the results to a json manifest, which I plan to use as a data source for visualization tools I'm currently working on.
Imports and directory paths
Begin by importing the required libraries.
Set the “extractMetaData” variable to True if you wish to extract meta data from the images or to False if you wish to skip that step.
Set the directory paths for additional resource, input data and data output locations.
Set the pre-trained model and data input path
Select the appropriate pre-trained YOLO model.
For this project I’m using the “yoloV8m.pt but I may switch to the large version for more accuracy.
Get the directory path of the images to process from the workspace path dictionary and store the path as in a variable since that path is called multiple times.
Define functions
This function will be used during the meta data extraction step.
The default format for image geolocation data is in (degrees, minutes, seconds).
The function take the geolocation data and converts it to latitude and longitude decimal coordinates.
Create the manifest and begin cycling over input images
The manifest dictionary will store any meta data extracted from an image and detections.
With a for loop, cycle over each file in the given directory.
If the file is an acceptable format, continue processing.
Create a new dictionary object for each image.
Extract meta data
Using PIL, check if the image has accessible meta data.
If the image has accessible meta data, cycle through the meta data tags and check if the tag matches data categories we want to extract.
If the tag indicates geolocation, pass the geolocation metadata to the decimal_coords function and write the returned coordinates to the image manifest.
If the tag indicates datetime, parse the datetime data into individual components and write them to the image manifest.
Resize the image and use YOLO to detect objects
The YOLO model selected is designed for images with a maximum dimension of 640 pixels.
Use PIL to resize the image so the maximum dimension is equal to a given pixel dimension that is less than or equal to 640 pixels.
The resized image is saved to the given directory.
Pass the resized image to the YOLO model and parse the results.
For each detection in the list of results, get the detection class, coordinates of the bounding box and confidence metric and write them to the image manifest.
Finally, once all images in the given directory have been processed, write the image manifest as a json file.
Manifest example
This snippet is from the image manifest and shoes the meta data and detections from one of the processed images


